Pre-Read · 10 min

Tools for the
Fluent Leader Vault

Three tools. Ten minutes of setup. Everything you need to get the most out of the workshop — and walk away ready to build your vault on day one.

Maven Analytics Workshop
60 minutes
Read prior to workshop

What Is the Fluent Leader Vault?

A lightweight, plain-text knowledge base you'll build during the workshop — organized around the COACH framework.

The Fluent Leader Vault is a structured folder of markdown files that gives you one organized home to manage context about your team's productivity, strengths, growth areas, and AI fluency needs. It mirrors the COACH model you'll learn in the session — so building it walks you through the framework, and using it reinforces it.

Because everything is plain .md text, the vault works in almost any editor you already have. That said, three tools make it significantly more powerful: Obsidian for organizing and navigating your vault, Granola for capturing 1:1 meeting notes automatically, and Claude for running AI-assisted coaching against your context.

You don't need to master any of these before the workshop. You just need them installed and working. This guide walks you through each one.

The Tool Stack at a Glance

Tool Role in the Vault Alternative
Obsidian Stores, organizes, and cross-links your vault files; makes the structure navigable VS Code, iA Writer, Typora, or Finder + TextEdit
Granola Captures 1:1 meeting notes automatically and exports them to your vault Otter.ai, Fireflies.ai, or manual notes in a text file
Claude Sonnet Reads your vault context and helps you assess, coach, and prepare for 1:1s Gemini, OpenAI, OpenRouter or your model of choice
Claude Code or Cowork Agentic harness for running AI prompts directly against your vault — reads, creates, and edits your files Codex, Cursor, VS Code

Obsidian

A free, desktop-based markdown editor where your vault lives. You own the files, they're private by default, and any AI tool can read them directly.

🪨

What it is

Unlike Notion or Google Docs, everything lives in plain .md files on your computer — private, portable, and AI-readable.

Obsidian overview

Download

Obsidian download page

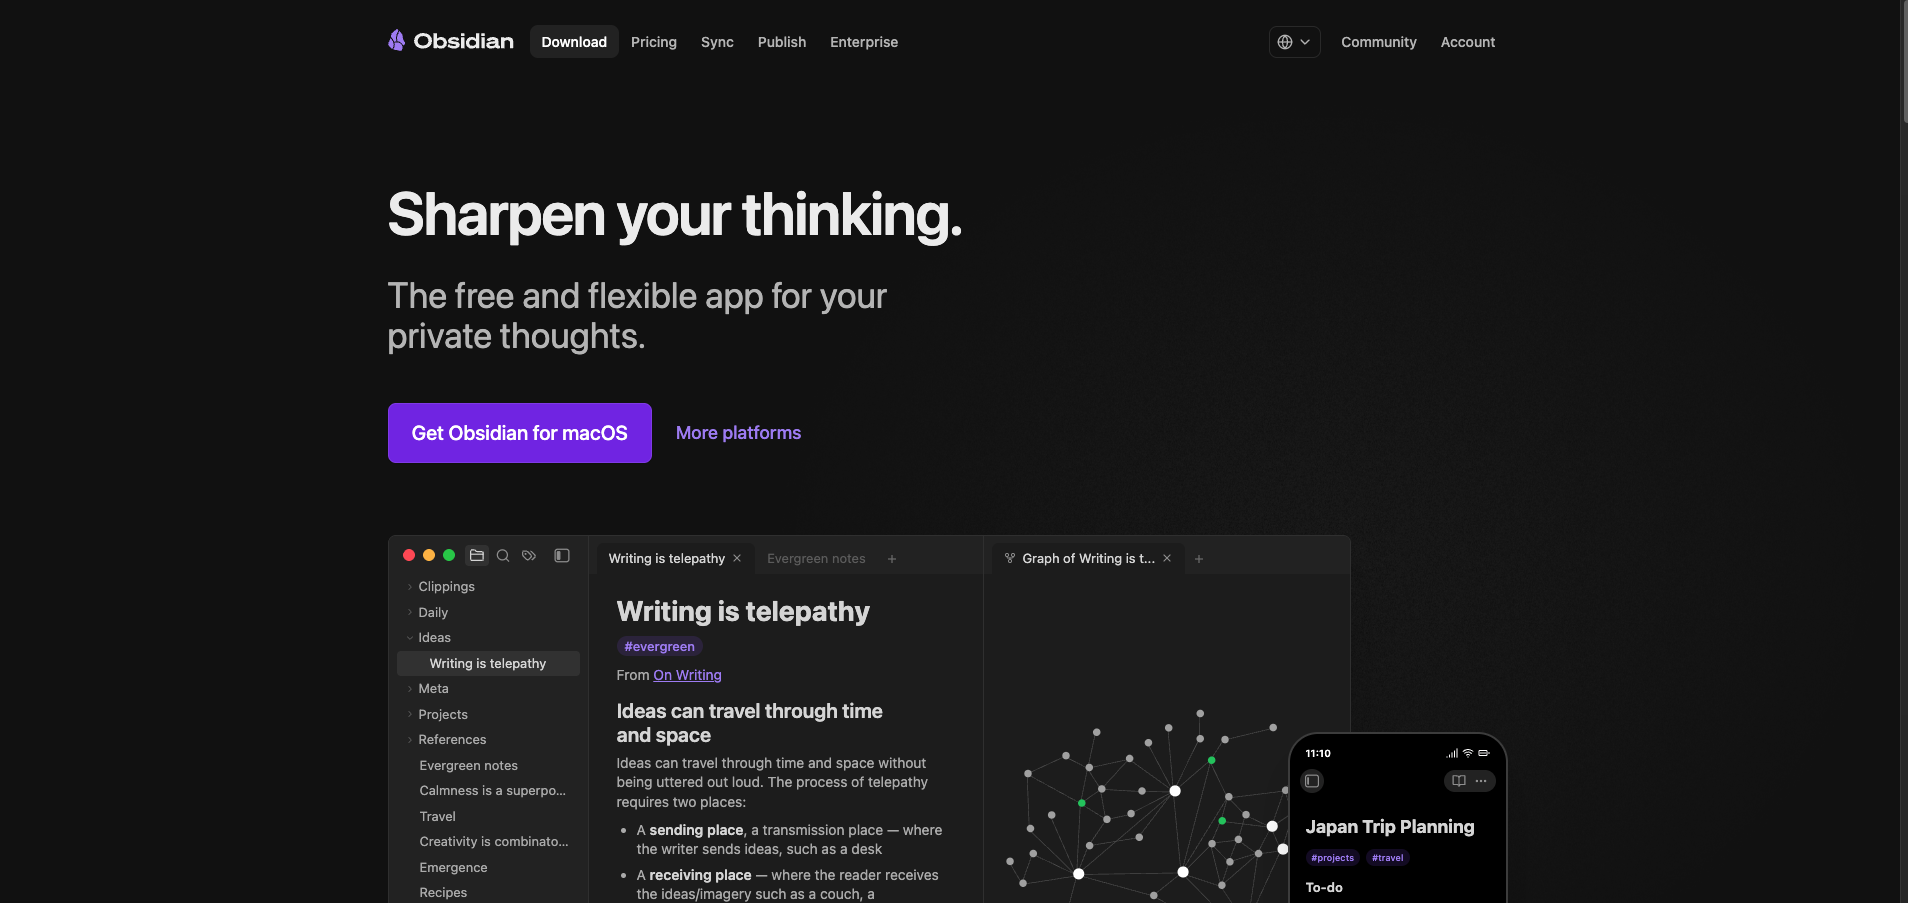
obsidian.md/download — available for Mac, Windows, and Linux. Free for personal use

How to use it

1

Create a vault

A "vault" in Obsidian is just a folder. When you open Obsidian for the first time, choose Create new vault, give it a name (Fluent-Leader-Vault works), and pick where to save it. That folder is now your vault.

Creating a vault in Obsidian

That's it — you're done with setup.

You don't need to do anything else in Obsidian before the workshop. During the session, you'll receive a prompt that you'll paste into an agentic AI tool (Claude Code, Claude Desktop, or Cursor). That prompt will interview you about your team and then automatically scaffold your entire vault — every folder, every file, pre-populated with your answers. No manual file creation required.

After the workshop, simply open Obsidian, choose Open folder as vault, and point it at the folder the prompt created. Everything will be in place and cross-linked automatically.

Optional: Get familiar with Obsidian

If you'd like to explore before the session, here's a quick tour of the features you'll use most. None of this is required — you'll see it all demonstrated live during the workshop.

2

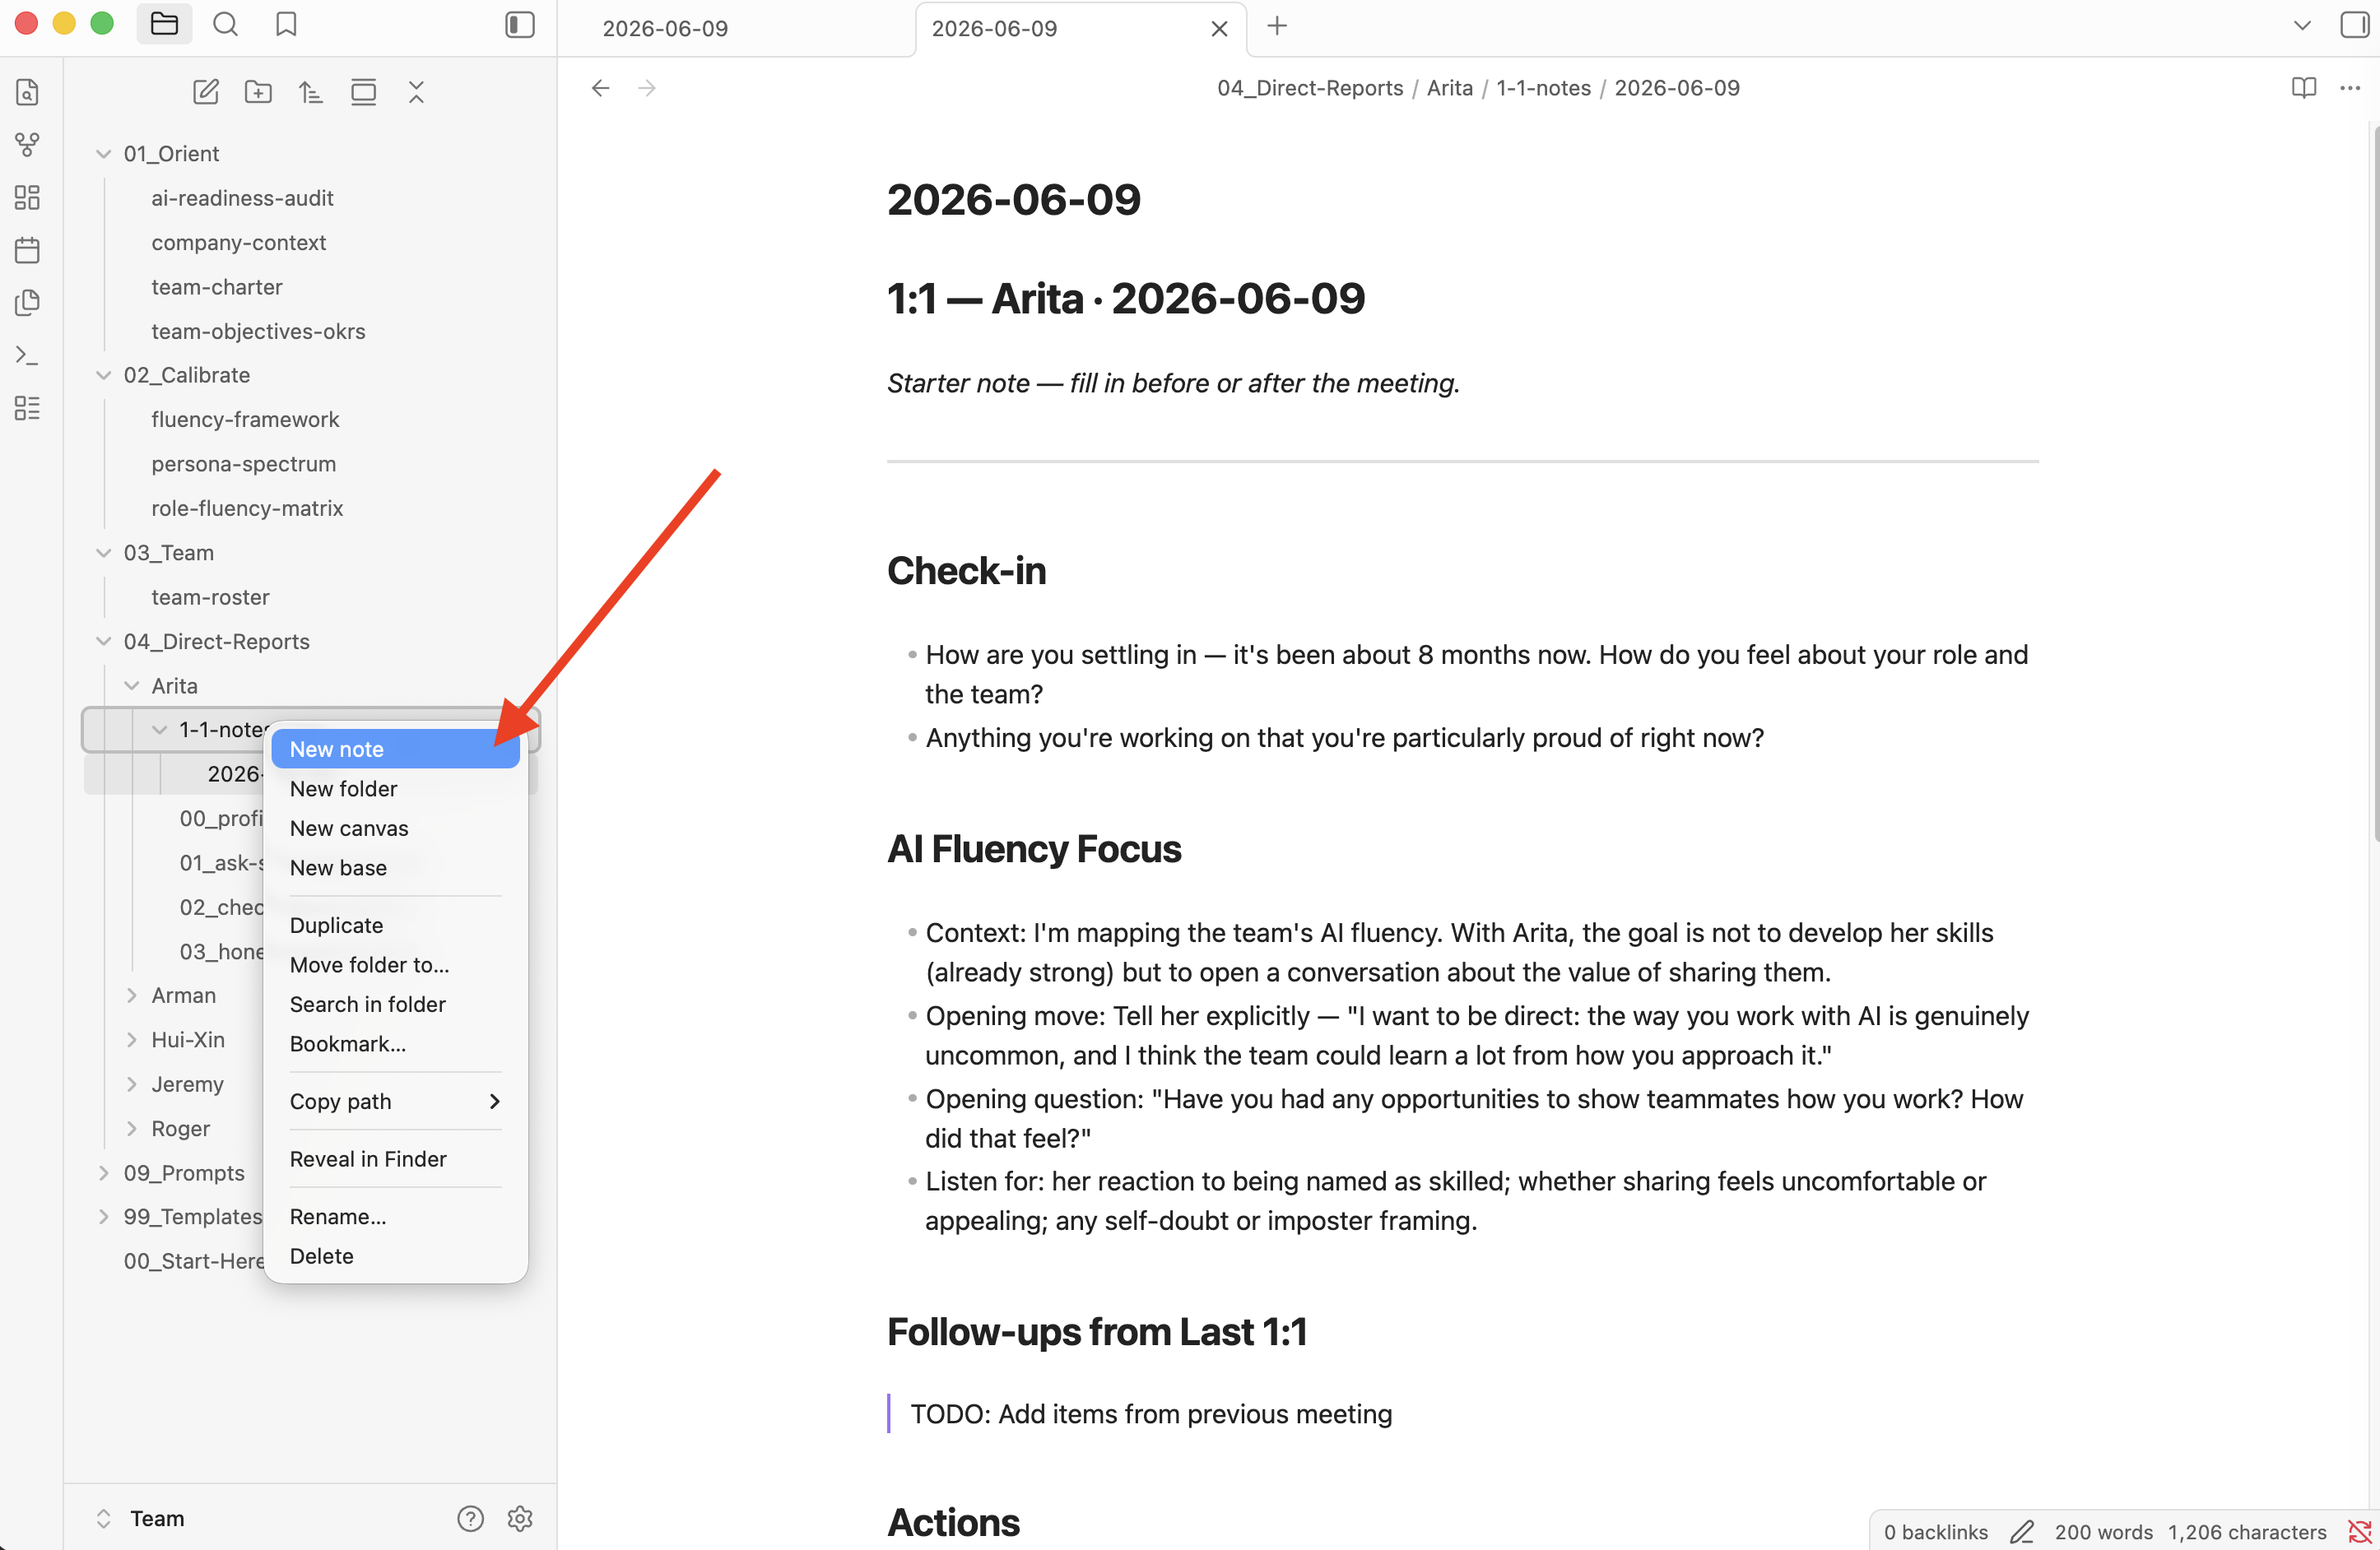
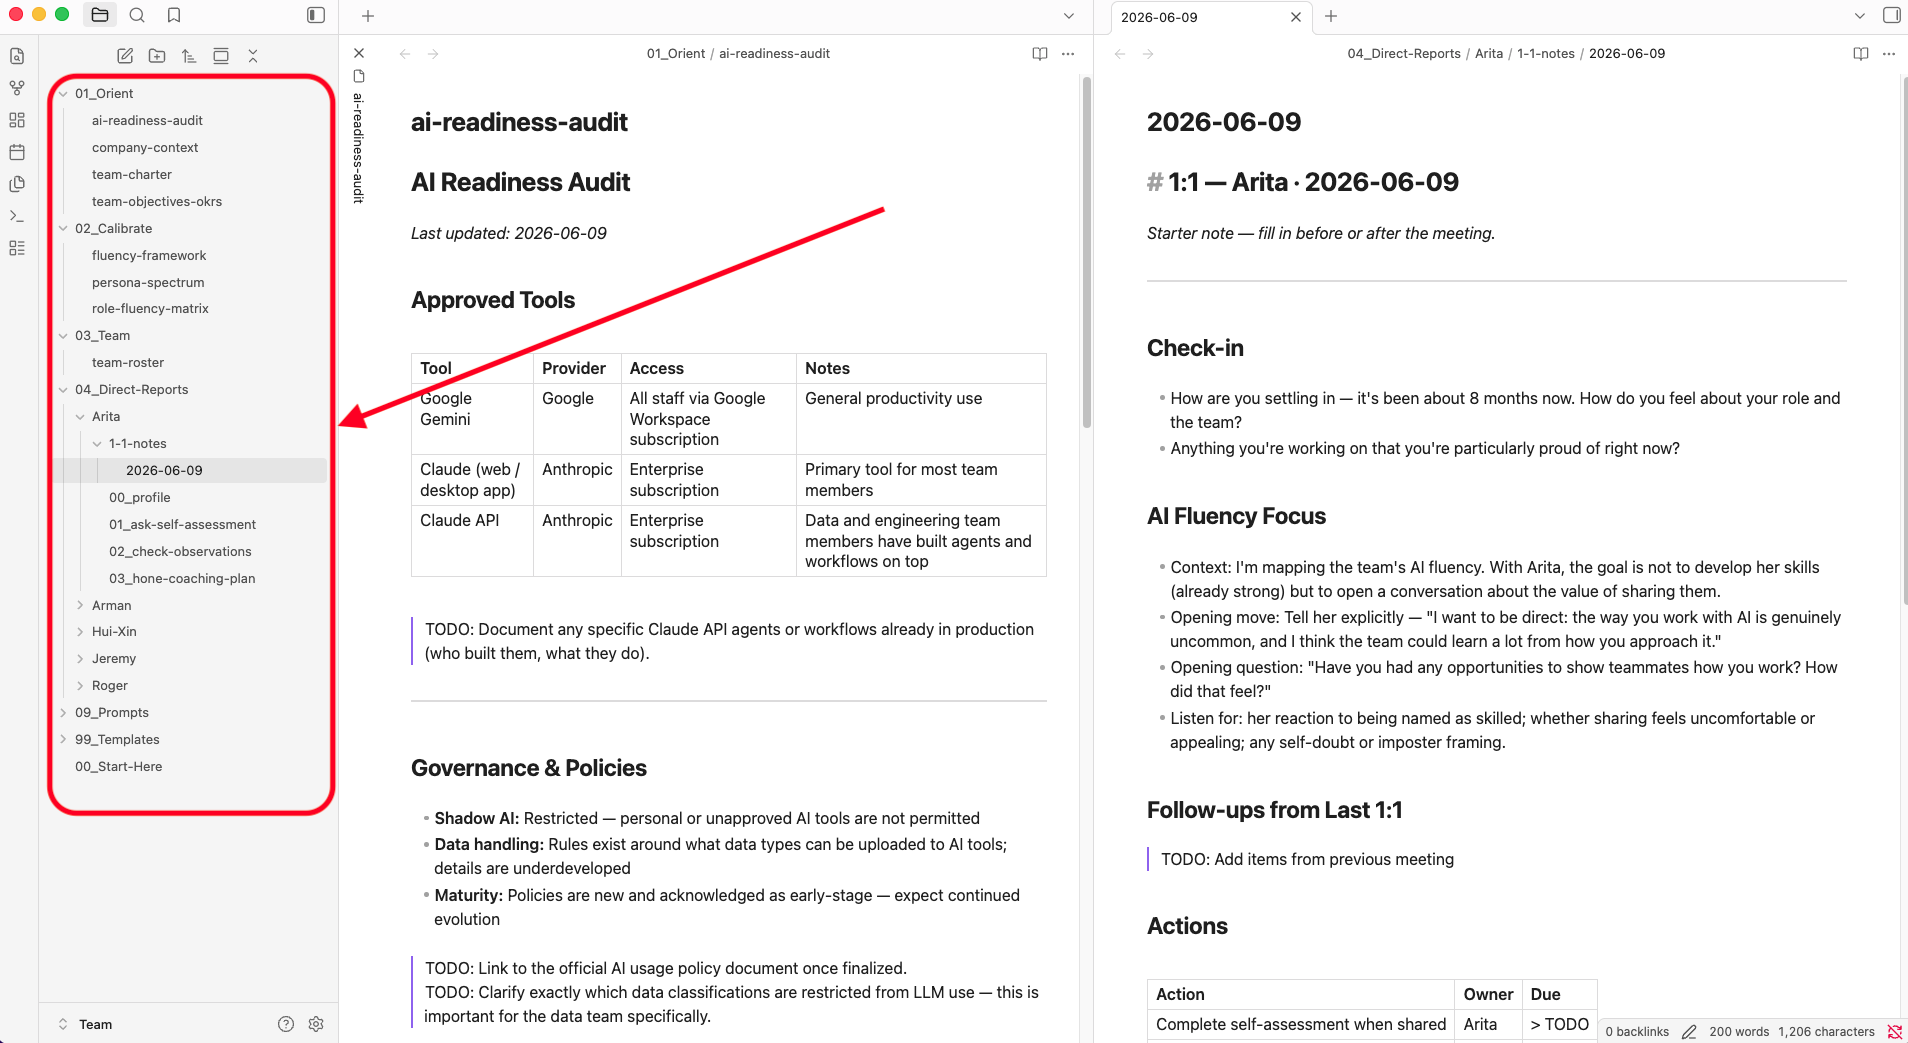
Navigating your vault

The left sidebar shows your folder structure and all your notes. Click any file to open it. You can create folders inside the vault to mirror the COACH structure you'll build in the workshop.
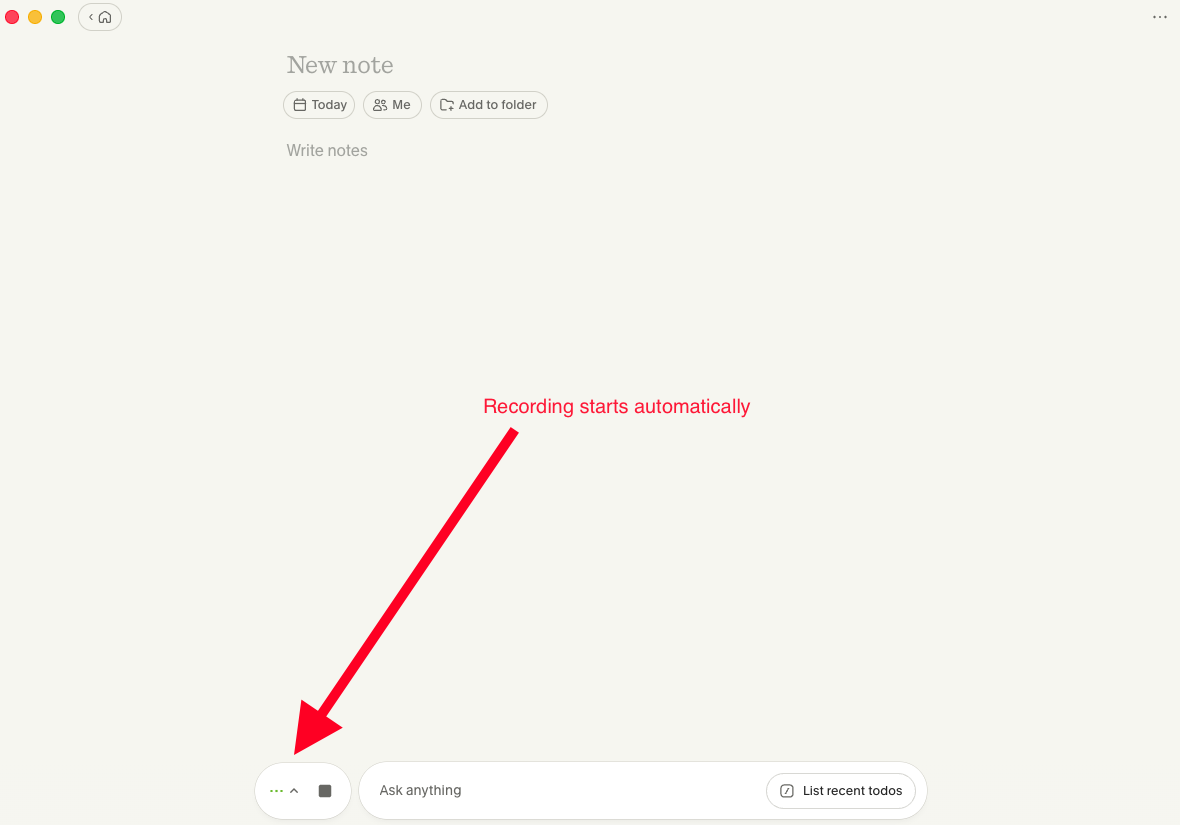
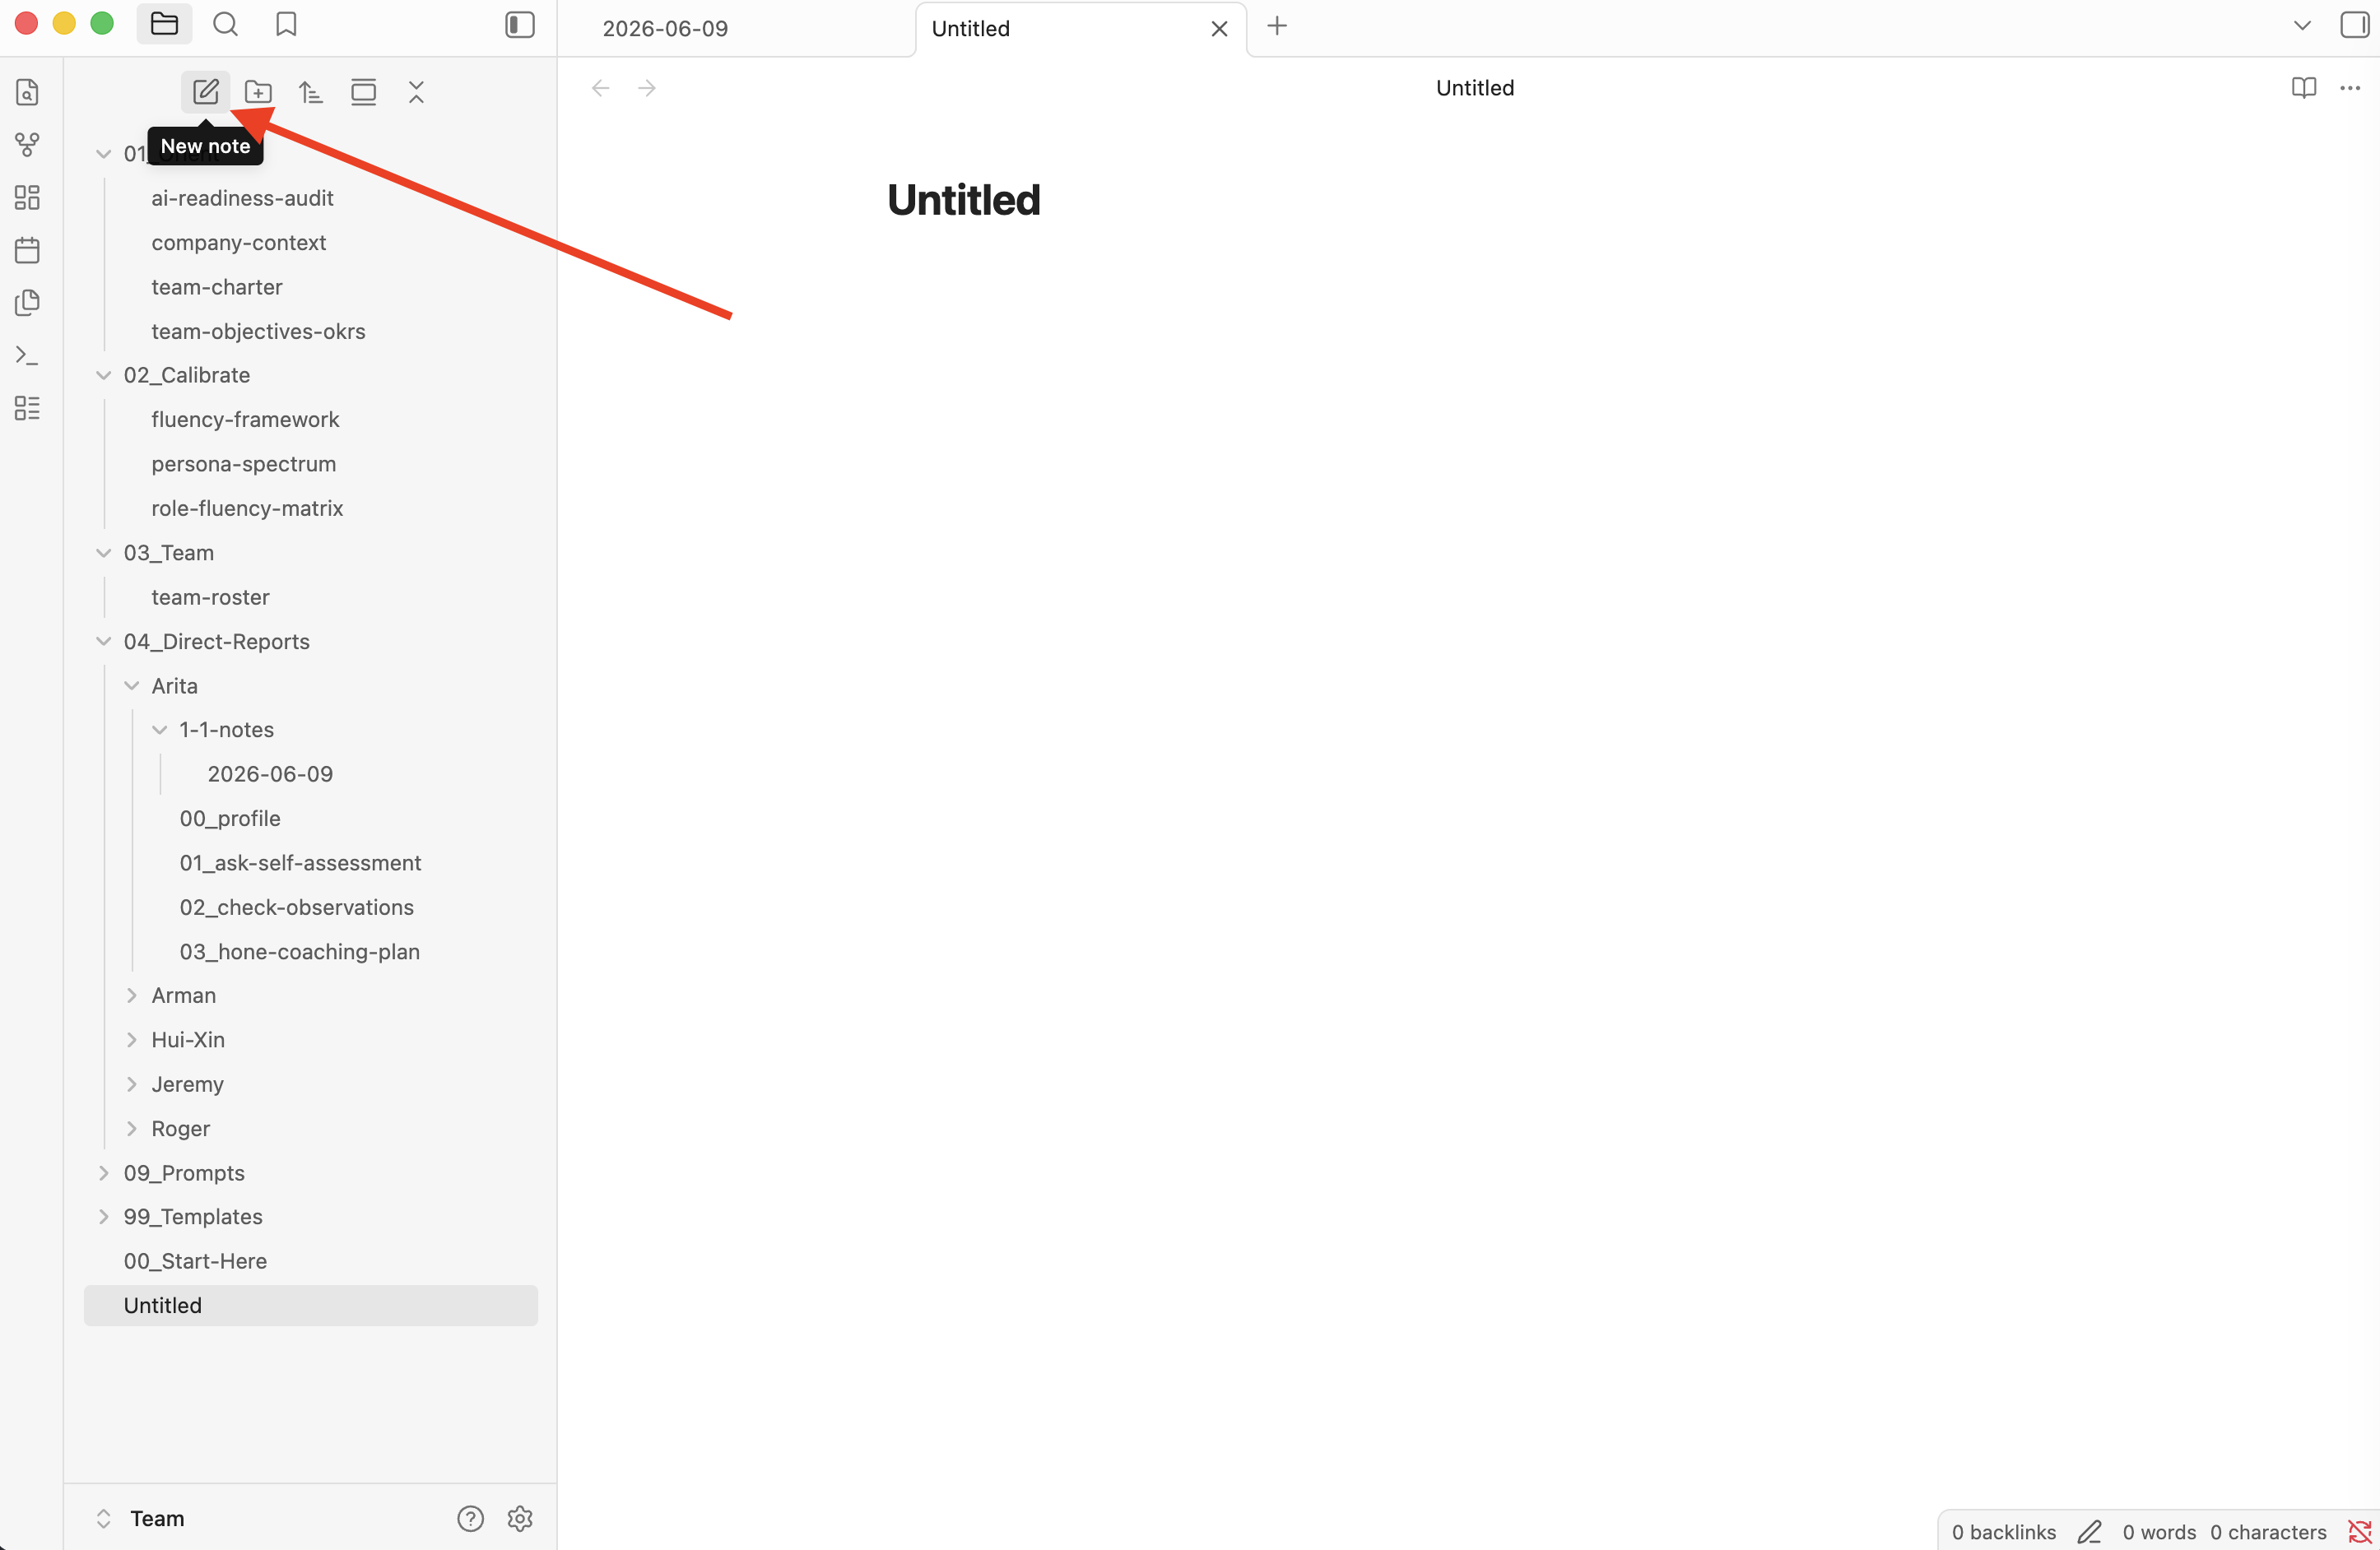
Obsidian left sidebar navigation
3

Create a new note

Click the New note icon (top-left) or press Cmd+N (Mac) / Ctrl+N (Windows). Name it, and start writing in markdown. If you're new to markdown, here's all you need:

Creating a note in Obsidian
# Heading 1 Large header
## Heading 2 Section header
**bold** bold text
*italic* italic text
- item Bullet list
> text Blockquote / TODO

For a full reference, see the Markdown Cheat Sheet.

4

Create links between notes

This is Obsidian's most useful feature for the vault. Type [[ anywhere in a note and start typing a file name — Obsidian autocompletes and creates a clickable link. For example, [[Jordan/00_profile]] links directly to a team member's profile. Click it to jump there instantly.

5

Graph view

Open the graph view with Cmd+G (Mac) / Ctrl+G (Windows) to see a visual map of how your notes connect. Makes the vault's structure intuitive at a glance.

Obsidian graph view
Reminder: You don't need to build or configure any of this manually. During the workshop, I'll demonstrate how to automatically generate the full vault structure with a single prompt — you'll leave with everything set up and ready to use.

Alternatives

VS Code

Free, widely used text editor with solid markdown support. No graph view or wikilinks, but reads vault files without issue. code.visualstudio.com

Typora

Clean, distraction-free markdown editor with live preview mode. One-time purchase (~$15). typora.io

Logseq

Free, open-source alternative with the same wikilink syntax and graph view. Also local-first and plain-text. logseq.com

Granola

An AI meeting notes app that captures your 1:1s automatically — no bot joins the call — and produces a clean summary you can drop straight into your vault.

🌿

What it is

Granola listens via system audio, lets you add notes in real time, then generates a structured summary after the meeting ends.

Granola app overview

Download

granola.ai — currently available for Mac only. A Windows version is in development.

Windows users: Use Otter.ai or Fireflies.ai as alternatives — both transcribe meetings and export summaries. Manually save the output as a dated .md file in your 1-1-notes/ folder after each 1:1.

That's it — you're done with setup.

Once Granola is installed, you're ready for the workshop. You don't need to configure anything else or run a meeting beforehand.

Optional: Get familiar with Granola

If you'd like to explore before the session, here's a quick walkthrough of how Granola works day-to-day. None of this is required — we'll cover the vault workflow live during the workshop.

1

Connect your calendar

After installing, Granola asks to connect your Google or Outlook calendar. Do this — it's how Granola knows which meetings to pick up automatically.

2

Join a meeting normally

Granola detects when a meeting starts and begins capturing audio in the background. You don't need to click anything. A small Granola window appears; you can leave it minimized. Alternatively, click New note at any time to start recording manually.

Important: Always inform anyone you're meeting with that the discussion is being recorded and transcribed.
Granola new note interface
3

Add your own notes during the meeting

The Granola sidebar lets you jot notes in real time — bullet points, observations, things to follow up on. These get woven into the final summary.

Reminder: You don't need to run a meeting or test any of this before the workshop. We'll walk through the full workflow together live.

How Granola connects to your vault

During the workshop, you'll see exactly how Granola and Obsidian work together. The short version: after each 1:1, Granola produces a clean AI-generated summary of the conversation. You copy that summary into a new dated note inside your vault — under your team member's folder in 04_Direct-Reports/. That note then becomes part of the context Claude can read when helping you prep for your next session with that person.

Saving a Granola summary into the vault

The habit is simple: end the 1:1, review the Granola summary, save it to the vault. We'll demonstrate this live, so you'll leave the workshop knowing exactly how to make it part of your routine. Check out the Granola starter guide to explore further.

Alternatives

Fathom

Free AI notetaker that joins calls as a bot and produces a clean, structured summary. Available on Mac and Windows. fathom.video

Otter.ai

Widely used transcription tool. Integrates natively with Zoom, Teams, and Google Meet on Mac and Windows. otter.ai

Fireflies.ai

AI notetaker with strong search and tagging across your meeting history. Exports summaries in multiple formats. fireflies.ai

Your AI Model

The model that reads your vault context and responds to your prompts. We recommend Claude Sonnet, but the vault works with almost any capable model.

Claude Sonnet

Recommended — strong reasoning, large context window, and tight integration with the harness tools used in the workshop.

The vault is built entirely from plain markdown files, which means any AI model with a decent context window can read it and respond to prompts against it. We'll be using Claude Sonnet in the workshop because it pairs well with the harness tools we'll use — but if you already have a preferred model, it will almost certainly work just as well.

Nothing to do before the workshop — just pick your model.

There's no setup required for the model itself. If you don't have a preference, we recommend Claude Sonnet via the Claude desktop app or claude.ai. If you already use ChatGPT, Gemini, or another model regularly, that's fine too — bring whatever you're comfortable with.

Claude Sonnet

Available at claude.ai/download (desktop app) or claude.ai (web). A Pro plan — $20/month is recommended for the context window and file access needed to work effectively with the vault.

Alternatives

Any of these work well with the vault. Pick the one you already use or are most comfortable with.

ChatGPT (GPT-4o)

OpenAI's flagship model. Use the file upload feature to share vault files. Plus plan ($20/mo) recommended. chatgpt.com

Gemini

Exceptionally large context window — great for reading across multiple vault files in a single prompt. Gemini Advanced ($20/mo) recommended. gemini.google.com

OpenRouter

Routes prompts to dozens of models from one interface. Pay-as-you-go — useful if you want to switch models without managing multiple subscriptions. openrouter.ai

OpenRouter interface

Your AI Harness

The agentic tool that gives your AI model access to your file system — so it can read, create, and edit vault files directly, not just answer questions in a chat window.

⚙️

Claude Code or Claude Desktop (Cowork)

Recommended — connects directly to your vault folder and runs the intake prompt that builds everything automatically.

Claude Code and Claude Desktop interfaces

A standard chat interface like claude.ai or chatgpt.com can answer questions, but it can't create files and folders on your computer. The harness is what bridges that gap — it gives the AI direct access to your file system, which is what allows the vault setup prompt to scaffold your entire folder structure in one go.

The only step: have one of these tools installed.

You don't need to configure anything or run any prompts before the session. During the workshop, I'll share a system prompt that you'll paste directly into your chosen harness — it will interview you about your team and then automatically build your entire Obsidian vault: every folder, every file, pre-populated with your answers. Just have the software installed and ready to open.

Pick one to install

Tool Type Notes
Claude Code Recommended CLI Anthropic's command-line agent. Paste the prompt, point it at a folder, and it builds everything. Install guide.
Claude Desktop (Cowork) Desktop app No terminal required. Connect a folder in Cowork mode and paste the prompt — same result, no command-line experience needed. claude.ai/download.
Cursor AI code editor Open a folder, open the Composer panel (Cmd+I), and run the prompt in Agent mode. cursor.com.
Codex CLI / cloud agent OpenAI's agentic coding tool. Runs prompts that can read and write files in a project folder. github.com/openai/codex.
VS Code Code editor Use with GitHub Copilot (agent mode) or the Claude VS Code extension to run the prompt against your vault folder. code.visualstudio.com.
Google Antigravity AI code editor Google's agentic code editor — purpose-built for working with agents, similar to VS Code but designed from the ground up for agentic workflows. antigravity.google.
Not sure which to choose? Go with Claude Code — it's what I'll be demonstrating live in the workshop, and it's the cleanest option for running the vault setup prompt.

Your Pre-Workshop Checklist

You don't need to build anything yet — the workshop walks through setup live. These tools just need to be ready to go. Click each item as you complete it.

0 of 4 complete
That's it. See you in the session — you'll walk away with a fully scaffolded vault and a concrete framework for developing your team's AI fluency.